Social creator
Animate a single portrait or travel photo into a vertical hook with gentle camera movement and a clear focal point.
veed ai text to videoImage-to-video workflow
VEED AI image to video turns a single still into a polished moving scene. Start with a product shot, portrait, illustration, or travel photo, then shape the motion for your channel without rebuilding the whole edit.
A/B structural difference
The starting material changes the kind of control you get. An image-to-video workflow protects a visual reference, while text-to-video begins by interpreting an idea from words.
| Attribute | Image to video | Text to video |
|---|---|---|
| Starting material | A finished still image | A written visual prompt |
| Subject continuity | Reference is visible from frame one | Subject is interpreted from text |
| Motion direction | Animate an existing composition | Invent the scene and its movement |
| Brand control | Strong when the source is on-brand | Needs more prompt iteration |
| Best for | Product shots, portraits, and posts | Concepts without source artwork |
| Main risk | Unwanted crop or facial motion | Unexpected subject or layout |
| Editing after generation | Trim, caption, resize, and layer | Trim, caption, resize, and layer |
| Input preparation | Use a clear, well-composed image | Refine the prompt and style cues |
What changes in motion
Animation adds energy, but it may reinterpret details at the edges. Keep the source image sharp, avoid tiny text, and compare the first and final frames before publishing. If you want to create from a written brief instead, use veed ai text to video.
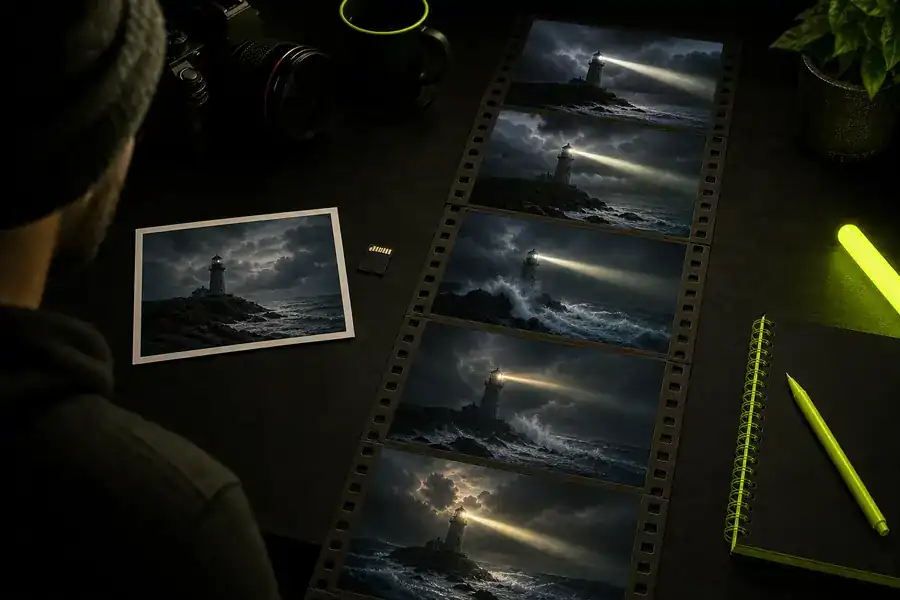
Check the subject’s position, text legibility, hands, and background edges. A successful conversion keeps the visual idea intact while adding just enough camera or subject movement to make the clip feel alive.
The tool block
Choose the format that matches your source, generate a short motion pass, and continue refining in the browser. The same workflow can lead into the veed ai video editor when you need layers, timing, or captions.
Animate a single portrait or travel photo into a vertical hook with gentle camera movement and a clear focal point.
veed ai text to videoGive a product still a slow reveal for an ad variation, then keep the same brand colors and framing across exports.
veed ai video generatorTurn a diagram or lesson cover into an opening clip, then add explanatory text and narration without changing the core artwork.
veed ai caption generatorCreate a polished announcement from one storefront or service image, with motion that makes a simple post feel intentional.
veed ai voice generator
Review before export
Image-to-video tools have developed from simple camera pans into editable short-form scenes. The safest workflow still treats every generated frame as a draft that deserves a quick human check.
Early workflows focused on preserving a still while adding a subtle zoom, pan, or parallax effect.
Generated clips began introducing subject movement, so checking faces, hands, and object boundaries became essential.
Vertical, square, and widescreen versions can now be planned together, but each crop still needs its own review.
Preview the opening second, inspect the last frame, and add captions or voice only after the motion feels stable.
Honest caveats
A strong still gives the generator a better foundation, but no image-to-video conversion guarantees perfect continuity in every frame.
Small labels and fine typography can shift as the scene moves.
Workaround: add text as an editor layer after generation.
Subtle facial changes can appear when a portrait is pushed into strong motion.
Workaround: use restrained movement and review the full preview.
A tight frame may expose background stretching or an unwanted subject cut.
Workaround: leave breathing room around the main subject.
Visual motion alone does not guarantee a finished story or a suitable soundtrack.
Workaround: add narration, music, or captions during the edit.
A repeatable handoff
Keep the process simple: prepare the still, guide the movement, and inspect the result before adding finishing layers.
Use a sharp source with a clear subject, uncluttered edges, and enough space for the chosen aspect ratio.
Choose a restrained camera move first, then test a more expressive variation if the subject remains stable.
Preview every crop, trim the strongest moment, and add captions, voice, or music only after review.
Questions about this variant
You can begin with the available free workflow and test a short conversion before deciding how much editing or polish your project needs.
Most clear images are useful starting points, but sharp subjects with uncluttered backgrounds usually produce easier-to-review motion than tiny, crowded compositions.
It creates the moving visual foundation. Add captions, voice, music, timing, and the final crop in the editor so the result fits your channel.