The video feels generic
A short prompt such as “make a marketing video” leaves too many creative choices open.
Fix: name the audience, setting, mood, camera style, pacing, and exact takeaway.
Veed AI tutorial
Learning how to use veed ai is straightforward: start with a clear idea, generate or upload your footage, then refine the result in the browser. This guide walks through the practical workflow from preparation to export, so your first project is useful rather than merely experimental.
01
Plan the message
02
Build the first cut
03
Review and export
Before you open the editor
The quality of a VEED AI project improves when the input is specific. You do not need a studio, advanced editing experience, or a finished script, but you should know what the video needs to achieve and where people will watch it.
Decide whether the video should explain, sell, teach, announce, or entertain. One primary goal keeps the script and visuals focused.
Gather a prompt, script, logo, product images, clips, or a voice reference. Clean filenames and a short brief make later choices faster.
Pick landscape for presentations and YouTube, square for feeds, or vertical for Shorts, Reels, and TikTok before you polish the composition.
The core workflow
Follow this sequence whether you are starting from a prompt or editing footage you already have. VEED AI is most effective when generation handles the first pass and you use the timeline to make the final decisions.
1. Open the workspace. Begin with a blank project or choose the AI video workflow that matches your source.
2. Describe the video. State the subject, audience, tone, duration, visual style, and call to action in plain language.
3. Generate or upload. Let the tool assemble a first cut, or bring in clips and images when the story depends on real footage.
4. Edit the structure. Shorten pauses, replace weak scenes, move clips, adjust text, and keep the opening seconds visually direct.
Optional: add finishing layers. Apply captions, a voiceover, music, brand colors, a logo, or a final end card only after the narrative works without decoration.
If you want a fully generated starting point, the VEED AI video generator is the natural first stop. If you already have footage, the VEED AI video editor gives you more control over timing, layers, and corrections.
Troubleshooting the first draft
Most disappointing results are not caused by a lack of features. They come from unclear instructions, too many goals in one project, or skipping the review pass. Use the fix below before starting over.
A short prompt such as “make a marketing video” leaves too many creative choices open.
Fix: name the audience, setting, mood, camera style, pacing, and exact takeaway.
Automatic transcription can misread names, accents, technical words, or fast speech.
Fix: review the caption track against the audio, then correct spelling before styling it.
Long introductions, repeated points, and oversized end cards make a short video lose momentum.
Fix: cut the first pause, put the promise in the opening, and keep one clear call to action.
Make the workflow repeatable
Once the basic VEED AI workflow feels familiar, small changes to your process can improve consistency. Treat generation as a creative draft, not a button that replaces every editorial decision.
Keep a short template with your audience, tone, visual rules, preferred length, and brand vocabulary. Reusing the structure makes each new generation easier to compare.
Best practice: change one creative variable at a time so you know what improved the result.
Viewers decide quickly whether to continue. Lead with the result, question, or visual change instead of a slow logo reveal or generic greeting.
Best practice: make the opening understandable with the sound muted.
Do not force one crop to serve every channel. Finish a strong master edit, duplicate it, and adjust framing, captions, and safe areas for each destination.
Best practice: check faces, product details, and text after every format change.
Check factual claims, pronunciation, visual context, music levels, and whether the final sequence sounds like your brand.
Best practice: export a review copy before publishing and ask someone unfamiliar with the brief what they understood.
A final quality check
The best way to learn VEED AI is to make one small project, review every layer, and repeat the process with a clearer brief. This before-and-after view shows the difference a deliberate edit can make.
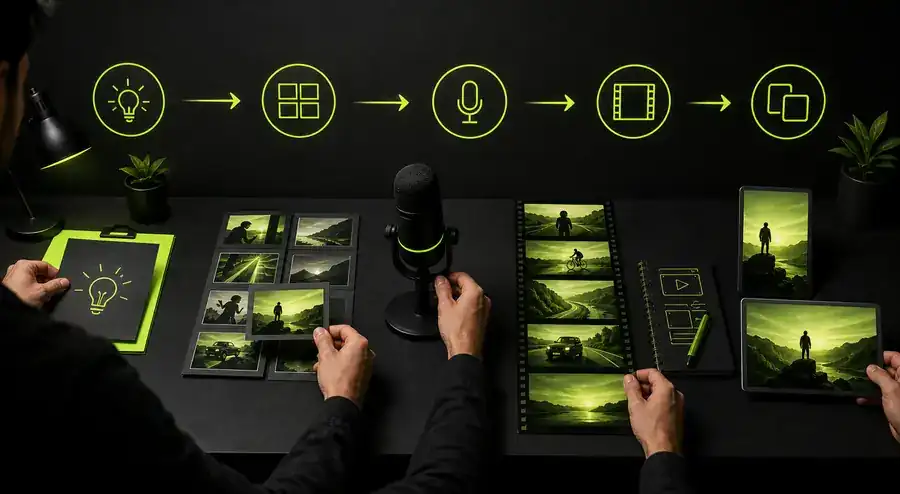
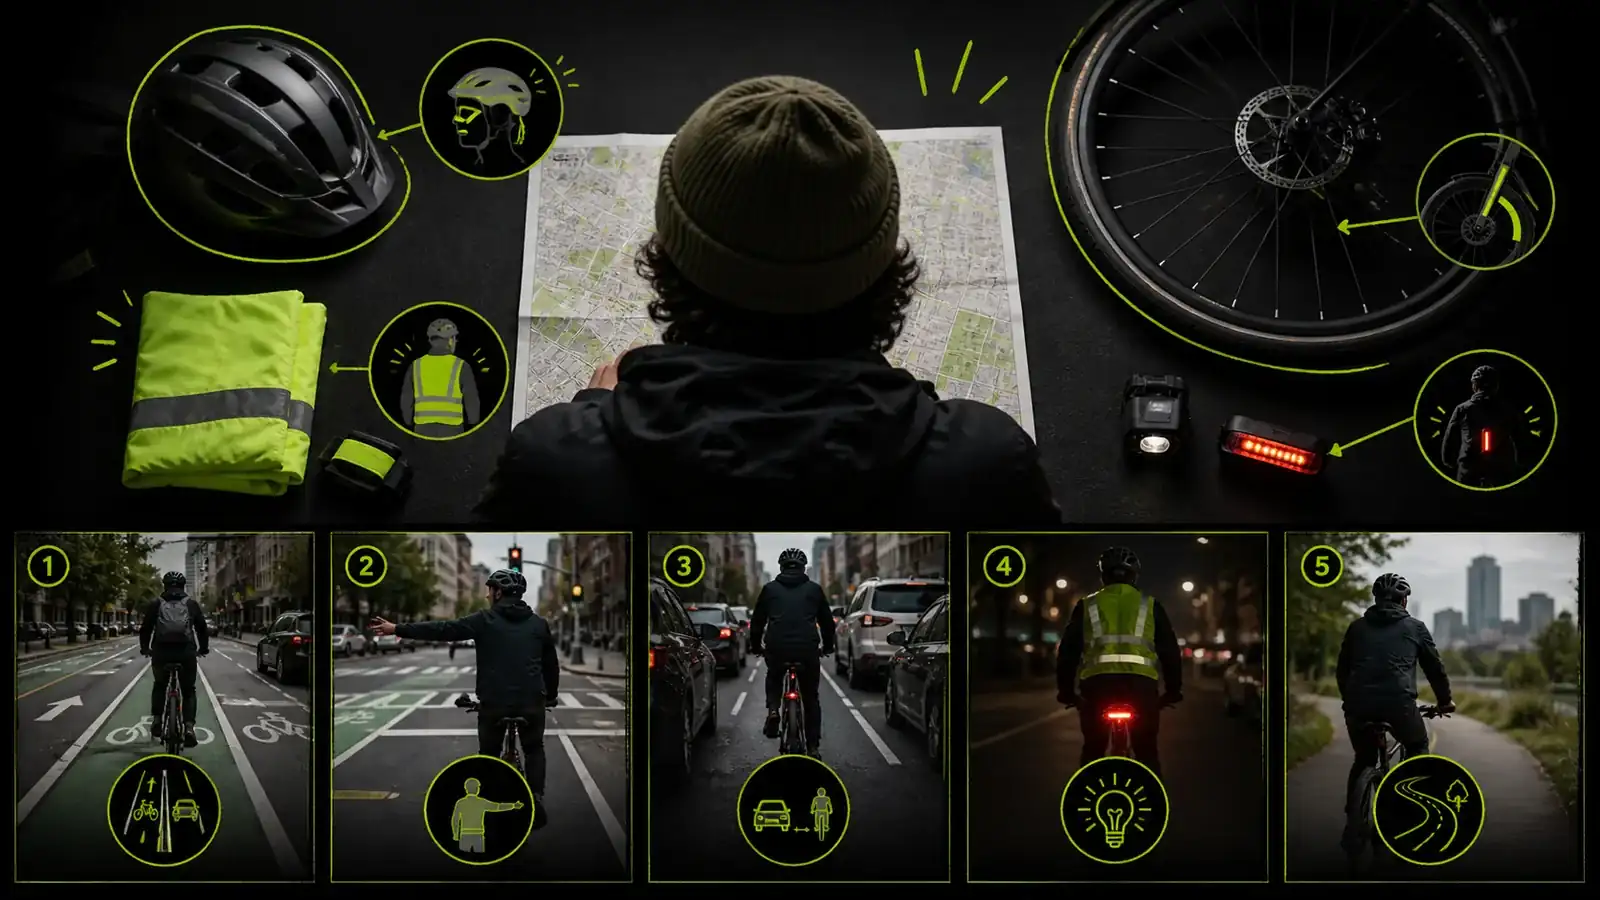
The transformation usually comes from selection and timing rather than adding more effects: remove weak scenes, tighten the message, check captions, and apply visual identity consistently.
Open a project, describe the result you want or upload your own media, generate a first cut, and refine it in the timeline. Finish by checking captions, audio, branding, and the output format before exporting.
No. Start with a short prompt and use the generated draft as a guide. You can learn the timeline gradually by trimming scenes, moving layers, changing text, and adjusting volume one decision at a time.
Yes. Treat the first result as a starting point. Replace scenes, trim the pacing, revise the script or captions, add your own footage, and style the project so the finished video fits your audience and channel.